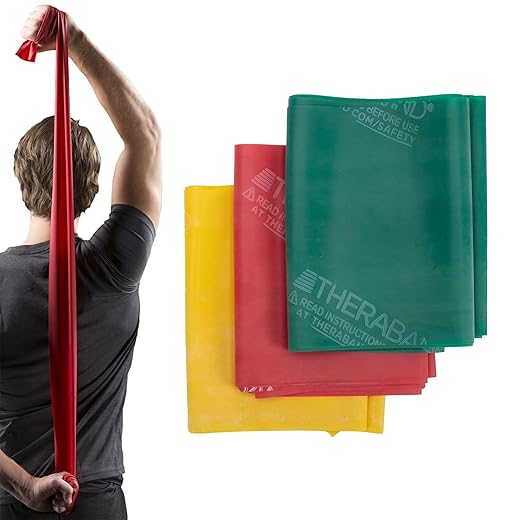
We understand that incorporating resistance bands into your fitness routine can be a new and challenging experience. This step-by-step guide aims to make the process more accessible by introducing you to these elastic bands and explaining their benefits. The guide will provide clear instructions on how to effectively use resistance bands for a full-body workout and help you achieve your fitness goals with confidence and motivation.
Selecting the Right Resistance Bands
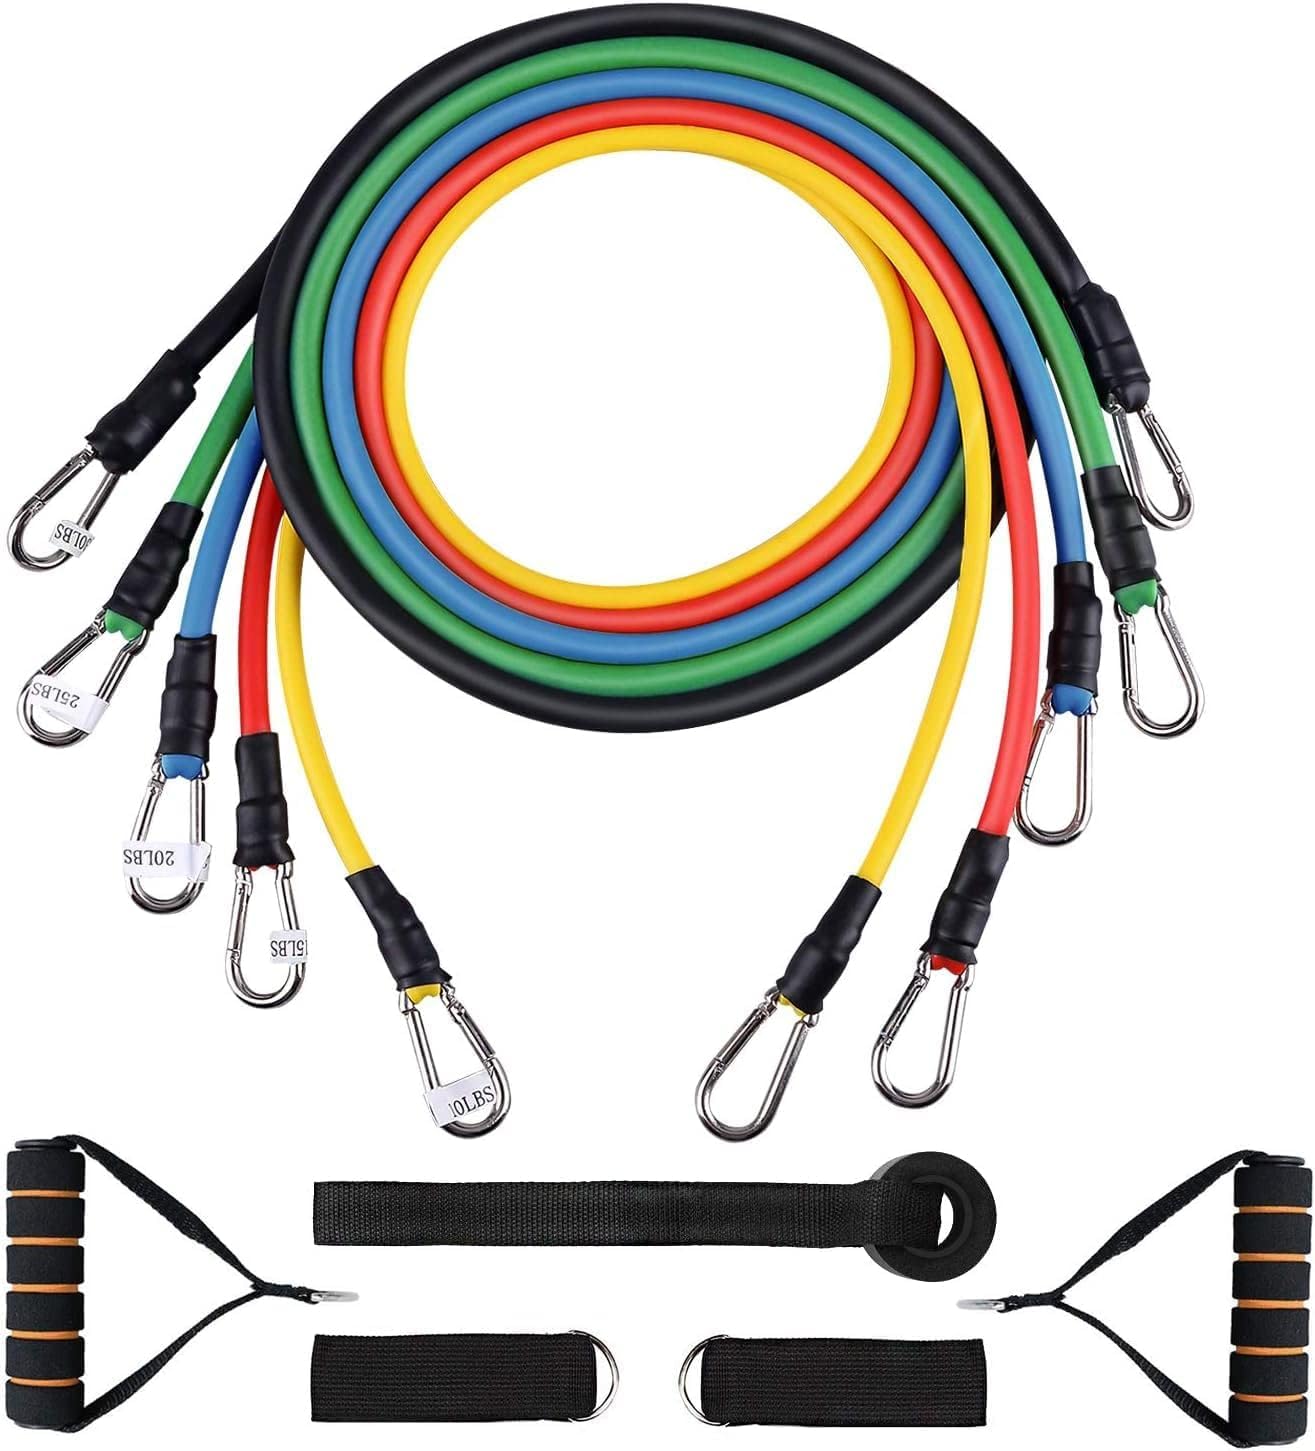
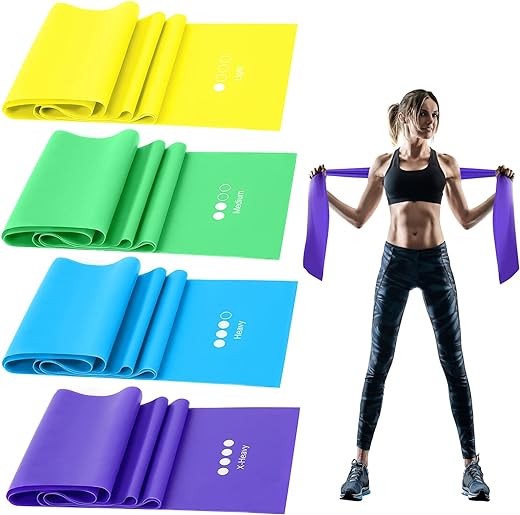
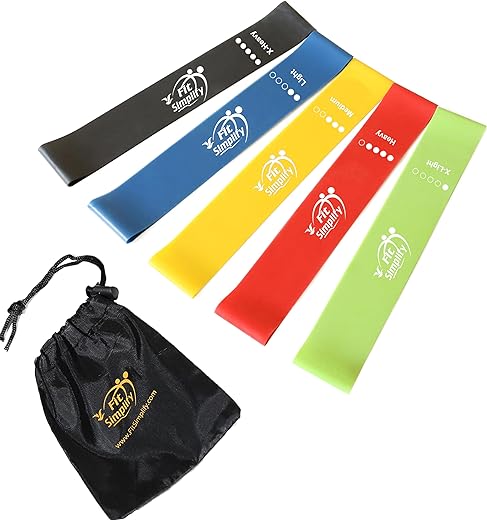
When selecting the right resistance bands, it’s essential to understand the different types available. There are loop bands, tube bands with handles, figure-eight bands, and therapy bands. Loop bands are versatile and ideal for lower body exercises like squats. Tube bands with handles offer a better grip and allow for a wider range of upper body exercises. Figure-eight bands are great for lateral movements and can add variety to your workouts. Therapy bands are commonly used for rehabilitation exercises due to their lighter resistance levels.
To choose the appropriate resistance level for your fitness goals, start by determining your current strength level. Begin with a lighter resistance if you are a beginner and gradually progress to higher levels as you build strength. A general guideline is to choose a band that allows you to complete 8-12 repetitions with proper form before feeling fatigued. For example, if you are aiming to build muscle mass, opt for a heavier resistance band that challenges you within the 8-12 rep range. Conversely, if you are focusing on endurance, a lighter band that allows you to perform higher repetitions would be more suitable. Experiment with different resistance levels to find the one that aligns with your fitness objectives.
Understanding Proper Form and Technique
To ensure proper form and technique when using resistance bands, start by selecting a band that matches your fitness level. Stand with your feet shoulder-width apart, holding each end of the resistance band in your hands. Keep your back straight and core engaged throughout the exercise. For example, when performing bicep curls with resistance bands, start with your arms at your sides and slowly bend your elbows to bring your hands towards your shoulders. Make sure to control the movement both on the way up and down, feeling the resistance from the band.
When engaging in exercises like lateral raises, step on the resistance band with one foot, keeping the opposite foot slightly behind. Hold one end of the band in each hand with your arms by your sides. Lift your arms out to the sides, maintaining a slight bend in your elbows, and focus on squeezing your shoulder blades together. Slowly lower your arms back down to complete one rep. Remember to always keep tension on the band and avoid jerky movements that can lead to injury. By following these tips and focusing on proper form, you can effectively use resistance bands to target various muscle groups safely and efficiently.
Incorporating Resistance Bands into Warm-Up Routine
To incorporate resistance bands into your warm-up routine effectively, start by selecting the appropriate resistance level band based on your fitness level and the muscle groups you want to target. Begin by placing the band around a stable support or using an ankle strap if targeting lower body muscles.
- Dynamic stretching: Perform dynamic stretches with the resistance bands to warm up and activate the muscles. For example, use the band for leg swings, arm circles, or hip rotations.
- Mobility exercises: Incorporate resistance bands into mobility exercises to improve joint range of motion. Try practicing shoulder dislocations or hip flexor stretches with the bands for better flexibility.
- Activation drills: Engage specific muscle groups by doing activation drills using the resistance bands. For instance, perform lateral walks or banded squats to activate the glutes before starting your workout.
- Movement preparation: Include band-assisted movements that mimic your workout exercises to prime the muscles and central nervous system. Practice band pull-aparts or band walks to prepare for upper body and lower body workouts, respectively.
Remember to focus on maintaining proper form and controlled movements throughout your warm-up routine to prevent injury and maximize the benefits of using resistance bands. Integrating resistance bands into your warm-up can help enhance muscle activation, boost performance, and reduce the risk of strains or sprains during your workout.
Targeting Different Muscle Groups
To target different muscle groups with resistance bands, here are some exercises with detailed instructions:
- Bicep Curls:
- Stand on the resistance band with feet hip-width apart.
- Hold one end of the band in each hand with arms fully extended by your sides.
- Keeping your elbows close to your body, curl your hands towards your shoulders.
- Extend your arms back to the starting position.
- Repeat for 3 sets of 12-15 repetitions.
- Squats:
- Place the band under your feet and position it on your shoulders.
- Stand with your feet shoulder-width apart.
- Squat down by bending at the hips and knees, keeping your chest up.
- Push back up to the starting position using your glutes and legs.
- Perform 3 sets of 15-20 repetitions.
- Lateral Raises:
- Stand on the band with one foot and hold the other end in one hand.
- With your arm slightly bent, raise it out to the side until it reaches shoulder height.
- Slowly lower your arm back down.
- Switch sides and repeat.
- Do 3 sets of 12-15 reps on each arm.
By following these exercises with resistance bands, you can effectively target various muscle groups for a well-rounded workout.
Progressive Overload and Advancement
To progressively increase resistance levels and advance your exercises with resistance bands for continuous improvement, begin by selecting a resistance band that provides a moderate challenge for your current fitness level. Start with basic exercises such as bicep curls or squats to get accustomed to the resistance.
As you feel comfortable, gradually increase the resistance level by either using a thicker band or increase the tension by gripping the band closer to the anchor point. Challenge yourself by incorporating more complex movements or increasing the number of repetitions and sets. Monitor your progress by keeping track of the resistance levels used and the number of reps performed, aiming to gradually increase these parameters over time to ensure continuous improvement. Remember to always maintain proper form and listen to your body to avoid injury while pushing yourself towards new fitness goals.
Incorporating Resistance Bands into Cool-Down
To include resistance bands in your cool-down for improved muscle recovery and flexibility, start by selecting a resistance band of appropriate resistance level. Begin by wrapping the band around a stable anchor point such as a pole or door handle. Next, perform a series of stretches by holding onto the resistance band with both hands, gradually increasing the stretch while maintaining control. Examples include hamstring stretches, chest stretches, and shoulder stretches. Hold each stretch for 20-30 seconds to promote muscle relaxation and flexibility.
After static stretching, incorporate dynamic movements with the resistance band. For instance, do bicep curls, lateral raises, or overhead tricep extensions to engage the muscles throughout a range of motion. Perform each exercise for 10-15 repetitions, focusing on controlled movements. Finish your cool-down by repeating some of the initial stretches with the resistance band to further enhance flexibility and aid in muscle recovery. Incorporating resistance bands in your cool-down routine can effectively target specific muscle groups while promoting flexibility and aiding in post-workout recovery.
Safety Measures and Maintenance
- Ensure Safety When Using Resistance Bands: Check resistance bands for any tears, wear, or damage before each use. Secure the bands firmly in place to prevent snapping during exercises. Always start with lighter resistance levels and gradually increase as needed. Maintain good form and avoid overstretching the bands to prevent injury. Be cautious when releasing tension from the bands to prevent them from snapping back.
- Proper Storage and Maintenance: After each use, wipe down the resistance bands with a clean, damp cloth to remove sweat and dirt. Store the bands in a cool, dry place away from direct sunlight to prevent damage. Avoid storing them near sharp objects that could puncture or tear the bands. Coil the bands neatly to prevent tangling and store them in a bag or container to keep them organized and protected. Regularly inspect the bands for any signs of wear and tear, and replace them if necessary to ensure safe and effective workouts.
Final Thoughts on Resistance Bands
In conclusion, incorporating resistance bands into your fitness routine offers a versatile and effective way to challenge your muscles, improve strength, flexibility, and overall fitness level. By following the guide outlined in this blog post, you can enhance your workouts, target various muscle groups, and achieve your fitness goals with a convenient and affordable tool. Embrace the versatility of resistance bands and take your fitness routine to the next level.
Essential Equipment Needed
Enhance Your Workouts
Getting Started with Resistance Bands
- Choose the right resistance level for your fitness level and goals
- Warm up your muscles before using the resistance bands to prevent injury
- Start with basic exercises such as bicep curls, squats, and lateral leg raises to get familiar with the bands
- Focus on proper form and technique to maximize the effectiveness of the exercises
- Gradually increase resistance levels as you progress to continue challenging your muscles
FAQs about Resistance Bands
Yes, resistance bands can be used for a wide variety of exercises targeting different muscle groups. They provide resistance in both the concentric and eccentric phases of movement, helping to increase muscle strength and flexibility. Resistance bands can be incorporated into exercises such as squats, rows, chest presses, bicep curls, and more, making them a versatile tool for both beginners and advanced fitness enthusiasts.
There are typically four main types of resistance bands available on the market:
- Loop Resistance Bands: These bands are continuous loops and are ideal for lower body exercises like squats, lunges, and glute bridges.
- Tube Resistance Bands: These bands have handles on each end and can be used for a wide variety of exercises targeting different muscle groups.
- Figure-8 Resistance Bands: These bands are in the shape of a figure-8 and are often used for upper body exercises like chest presses, rows, and arm curls.
- Flat Resistance Bands: These bands are flat and are often used for rehabilitation exercises, stretching, and mobility work.
Each type of resistance band offers a unique set of benefits and can be used for various fitness goals and exercise routines.

