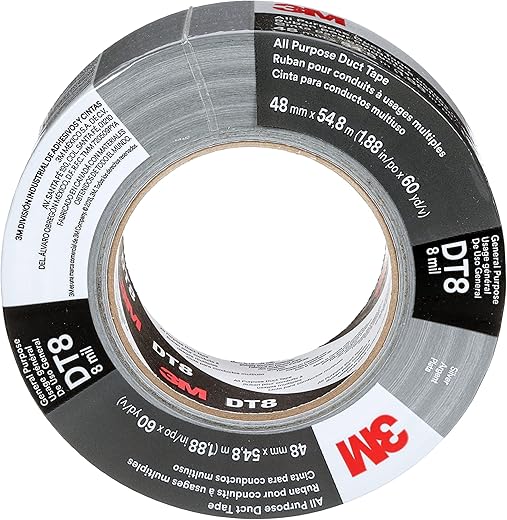
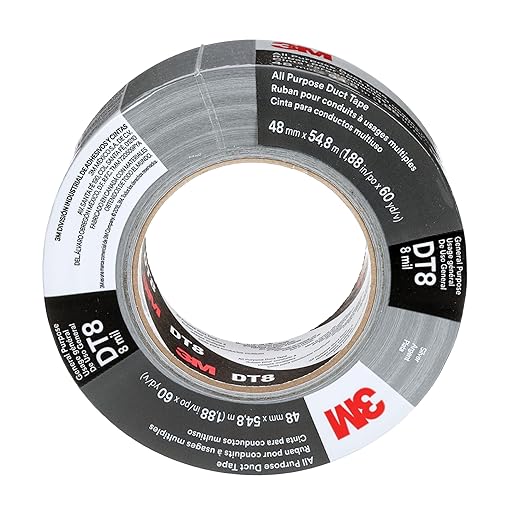
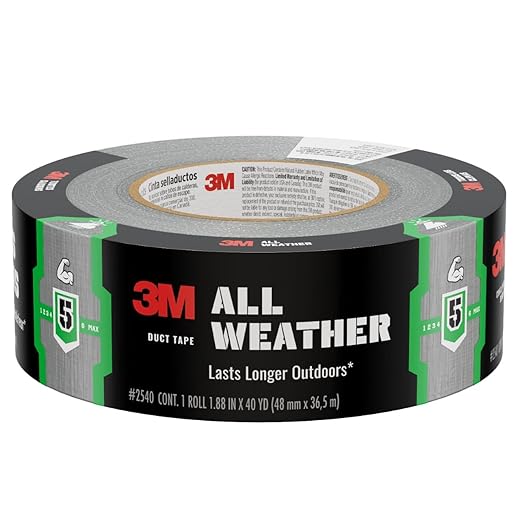
In the great outdoors, gear can often face wear and tear, making it essential to know how to make quick repairs. This step-by-step guide, “How to Patch Up Outdoor Gear with 3M Multi-Use Duct Tape,” will equip you with the skills needed to effectively use this versatile material. Whether you’re dealing with a leaky tent or a ripped backpack, 3M Multi-Use Duct Tape offers a reliable solution to extend the life of your outdoor essentials. Follow along to learn simple techniques that will have your gear back in action in no time.
1. Assess the Damage
Inspect your outdoor gear carefully for any visible signs of damage. Examine seams, fabric, and zippers for rips, tears, or holes. Use your hands to feel for any weaknesses in the material, and pay special attention to high-stress areas like corners and edges. Document any areas that require patching or repairs for future reference.
2. Clean the Surface
Ensure the surface is thoroughly cleaned and dried before applying the tape. Wipe the area using a clean, lint-free cloth to remove any dirt, dust, or moisture. Pay close attention to corners and edges where debris may accumulate, as this can hinder proper adhesion. Allow the surface to air dry completely if moisture is present, ensuring an optimal bond when the tape is applied.
3. Cut the Tape
- Cut a piece of 3M Multi-Use Duct Tape that is at least an inch larger than the damaged area on all sides. This provides adequate coverage for effective adhesion.
- Ensure the cut piece is smooth and free of any wrinkles, as this enhances the tape’s performance and durability.
- Position the tape over the damaged area, making sure to press firmly down on the edges for a secure hold.
- Remove any bubbles or air pockets by smoothing the tape with your fingers or a flat tool to ensure optimal contact with the surface.
4. Round the Edges
Round the corners of your cut piece of duct tape using scissors. Cut small arcs at each corner instead of leaving them square. This action reduces the likelihood of the tape peeling up over time, ensuring a stronger bond with the surface. Apply the rounded tape piece firmly to the desired area for improved durability.
5. Apply the Tape
Center the duct tape over the damaged area, ensuring it fully covers the affected surface. Press down firmly, starting from the center and working your way outward to remove any air bubbles. Smooth the edges to secure the tape in place and enhance adhesion. Double-check that there are no gaps or lifted corners for optimal repair effectiveness.
6. Smooth Out Air Bubbles
- Press down gently with your fingers or a flat tool to push out air bubbles trapped beneath the tape.
- Move from the center outward, applying even pressure to ensure that the tape adheres smoothly to the surface.
- If you encounter any wrinkles, lift the tape slightly and repeat the smoothing process, ensuring a tight seal.
- Check the entire length of the tape for any remaining imperfections, and repeat the smoothing technique as necessary.
7. Test the Repair
Gently tug on the repaired area while checking the strength of the bond. Assess whether the tape feels secure and holds firmly in place. If there is any movement or if the tape begins to peel away, reconsider your repair method or apply additional adhesive. Ensure that no gaps remain and that the repaired area maintains its integrity before concluding your repair process.
8. Allow to Cure
Allow the tape to cure for a minimum of 24 hours before subjecting the repaired gear to harsh conditions. This crucial step ensures that the adhesive adheres properly, creating a strong, lasting bond.
- Position the repaired gear in a stable environment, away from moisture and extreme temperatures.
- Avoid using the gear during this curing period to prevent any disruption of the adhesive.
- Check the tape for any visible imperfections before the curing time is complete, addressing any issues if necessary.
Adhering to these guidelines aids in maximizing the effectiveness of the repair.
9. Regular Maintenance
Regularly inspect the patched areas after making repairs. Look for any signs of wear, such as fraying or peeling. Reapply duct tape if you notice any deterioration to maintain the integrity of your gear. Ensure the surface is clean and dry before applying new tape for optimal adhesion.
Final Thoughts on Duct Tape Repairs
In conclusion, utilizing 3M Multi-Use Duct Tape for patching outdoor gear offers a practical and efficient way to maintain your equipment’s durability and functionality. By following the outlined steps, you can easily tackle minor repairs, extend the lifespan of your gear, and ensure a reliable experience during your outdoor adventures. Embrace this versatile solution to keep your gear in top shape for every journey.
Essential Supplies Needed
- 3M Multi-Use Duct Tape
- Scissors or utility knife
- Cleaning cloth or rag
- Mild soap or detergent
- Water
- Measuring tape or ruler (optional)
- Rolling pin or smooth object (for smoothing)
Maximize Your Repairs
- Clean the Surface: Ensure the area to be repaired is clean and dry to promote maximum adhesion. Use rubbing alcohol and a cloth to remove dirt and oils
- Cut Neatly: Use sharp scissors or a utility knife to cut the duct tape for a clean edge, which helps prevent peeling and fraying
- Choose the Right Width: Select a width of duct tape that is appropriate for the size of the tear or hole; wider tape provides better coverage and durability
- Apply Firm Pressure: After placing the tape over the damaged area, apply firm pressure for at least 30 seconds to ensure it adheres properly
- Overlap Edges: For larger tears, overlap strips of tape to ensure complete coverage and prevent moisture from entering the gear
- Use Multiple Layers: For added strength, consider using multiple layers of duct tape, allowing each layer to adhere before applying the next
- Trim Excess Tape: After applying, trim any excess tape for a neater appearance and to avoid catching on other items or surfaces
- Consider Color Matching: If appearance matters, choose a duct tape color that closely matches your gear to make the repair less noticeable
- Patch Inside and Out: For more durable repairs, consider applying tape to both sides of the fabric, especially for tents or bags
- Test Before Use: After a repair, test the gear gently before full use to ensure that the patch holds and the integrity of the item remains intact
Versatile Applications and Easy Techniques for Maximum Effectiveness
- Surface Preparation: Clean and dry the surface where the tape will be applied. Ensure it is free from dust, oil, or moisture to achieve optimal adhesion
- Cutting to Length: Unroll the desired length of 3M Multi-Use Duct Tape, and use scissors or a utility knife to cut off a piece. Make sure the edges are straight for a clean finish
- Application Technique: Press the tape firmly onto the surface, smoothing it out as you go to eliminate air bubbles. Start from one end and work towards the other to ensure even adhesion
- Layering for Strength: For added strength in repairs, consider layering the tape. Apply one piece, then add additional layers as needed for durability, especially on high-stress areas
- Removal and Cleanup: When it’s time to remove the tape, peel it off slowly to avoid damaging the surface. If any adhesive residue remains, use a cloth with rubbing alcohol or adhesive remover to clean it up
Common Questions About 3M Multi-Use Duct Tape
What are some creative or unconventional uses for 3M Multi-Use Duct Tape that users have discovered?
3M Multi-Use Duct Tape is renowned for its versatility beyond traditional repairs. Here are some creative and unconventional uses that users have discovered:
- Home Decor: Many users have employed duct tape to create artistic designs on walls, furniture, or frames. By cutting tape into shapes, individuals can add a personal touch to their interiors.
- Clothing and Accessories: Duct tape can be fashioned into clothing items, including dresses and vests. Additionally, users have created accessories like wallets, handbags, and even jewelry.
- Protective Wraps: It is often used to protect tools or equipment from scratches and moisture. For example, wrapping duct tape around the handles of tools can improve grip and extend their lifespan.
- Emergency Fixes: Users have utilized duct tape for emergency fixes in various scenarios, such as repairing torn screens, stabilizing broken furniture, or temporarily fixing leaking hoses.
- Cleaning Aid: It can effectively pick up pet hair or dust from surfaces when wrapped around fingers or a roller. Users have found it particularly useful in tight or hard-to-reach areas.
- Travel Companion: Duct tape can serve as an emergency tool while traveling, useful for patching up luggage, securing items, or even creating makeshift bandages in a pinch.
- Crafting: Beyond clothing, it’s used in various crafting projects, including creating decorative items and DIY gifts, such as personalized bookmarks and picture frames.
- Gardening Support: It can be used to support plants or trees by tying them securely to stakes or trellises, offering a simple solution for plant stabilization.
These unconventional applications highlight the multifaceted nature of 3M Multi-Use Duct Tape, making it a valuable tool in various scenarios beyond its original intention.
How does the adhesion strength of 3M Multi-Use Duct Tape compare to other brands?
The adhesion strength of 3M Multi-Use Duct Tape is generally recognized for its high performance, often placing it among the leading brands in the market. It features a strong adhesive that provides reliable bonding on a variety of surfaces, including metal, plastic, and wood.
In comparison to other duct tape brands, 3M’s adhesive formula is designed for durability and resistance to moisture and temperature changes, which enhances its overall effectiveness in both indoor and outdoor applications.
While specific adhesion strength can vary based on surface conditions and application methods, tests have shown that 3M Multi-Use Duct Tape typically offers superior adhesion compared to many generic or lower-quality duct tapes. It is always advisable to review specific product tests or consumer reports for detailed comparisons tailored to specific use cases.
Are there specific safety precautions to take when using 3M Multi-Use Duct Tape?
Yes, there are specific safety precautions to consider when using 3M Multi-Use Duct Tape. Here are some important guidelines:
- Surface Preparation: Ensure that the surfaces are clean, dry, and free of contaminants to achieve optimal adhesion and effectiveness.
- Skin Contact: Avoid prolonged contact with skin. If irritation occurs, remove the tape and wash the area with soap and water.
- Ventilation: Use in well-ventilated areas, especially if using it in conjunction with other chemicals or products that may emit fumes.
- Avoiding Fire Hazards: Keep the tape away from open flames or high temperatures, as it is not fire-resistant.
- Storage: Store tape in a cool, dry place away from direct sunlight to prevent degradation of performance.
- Disposal: Dispose of used tape according to local regulations regarding adhesive products and materials.
- Application Conditions: Use within the recommended temperature and humidity ranges for best results.
By following these precautions, you can ensure safe and effective use of 3M Multi-Use Duct Tape. For more specific information, always refer to the manufacturer’s safety data sheet or product labeling.

